Today I Made ...
A friend has been busy felting gifts just in time for Christmas and promised to show me an easy method of making basic flat felt. We had a great day, (with lots of tea and cakes), and managed to make a fairly passable gift. Thank you J.x. Here is what she taught me ...
First things you will need ...
A table.
A waterproof covering.
Some bubble wrap - two pieces.
Two towels - one large one smaller.
A bar of soap.
A spray bottle.
Wool for felting - I used a mixture of two shades of pink and blue Merino wool.
I also used a few silky threads and delicate ribbons mostly in shades of pink and blue.
 |
| The main wool plus other fibres |
 |
| Things you will need |
 |
| Ribbons |
 |
| Silks |
 |
| Wools |
Cover the table with the waterproof cloth.
Add a layer of bubble wrap (flat side uppermost).
Lay out a towel - as large as possible.
Place the smaller towel on top.
Start to add the small pieces of fibres in a criss cross design.
Stretch them out and pull them apart as much as possible to give a better finish.
At this point I also swirled some colourful threads and skinny silk ribbons in a chaotic design on the top of the wools.
Now add a second layer of criss cross threads.
The work area was approximately four feet square and the thread area approximately ten inches by five inches overall.
Make sure that the thread area is dense with no holes visible by the time you have finished.
Grate the soap bar into some boiling water and put the mix into a spray bottle.
Gently spray the fibres until all are thoroughly wetted.
A second layer of bubble wrap can be placed carefully on top now - bubble side down - and pressed down to spread the soapy water evenly around.
Use a gentle massage movement to make all the threads and silks become entangled.
Now roll up the pre-felt in the smaller towel and take it to the sink.
Gently wring out the excess water.
Now fill the sink with very hot water and immerse the whole bundle in it.
 |
| Taking the bundle to the sink |
 |
| The texture |
After five minutes remove the bundle and drain and wring gently and then take back to the table.
Now roll the bundle in the small towel back and forwards over the larger towel for five minutes as the water is squeezed out.
Undo the bundle and turn the pre-felt in the opposite direction and then re-roll and do the same again for a further five minutes.
Now inspect the fibres.
They should be well entangled and evenly shrunk and appear well matted.
If they appear less strong than needed then repeat the process with wetting and re-soaping.
You can also add another layer of fibres if you think they are necessary.
If the texture seems strong enough you can push and pull it into the desired shape.
Now rinse thoroughly in first hot and then cold water.
Repeat this hot and cold process until the water runs clear of suds.
When it is rinsed, shaped and flattened, lay on a dry towel and leave to thoroughly dry out (I put mine over a bathroom towel radiator overnight).
When thoroughly dry move onto the next stage.
I pulled my felt into an uneven rectangle approximately four inches by nine inches in readiness to make a wrist cuff for my 'Stitched Cuff Swap' partner Kirsty.
 |
| Blue beads and pink and blue buttons |
 |
| Work in progress |
 |
| Silks and beads and buttons |
 |
| More beads and silks and buttons |
I then set about decorating it with stitching and buttons, beads and simple embroidery and added a snap fastener.
 |
| Threads and embroidery |
 |
| More threads and embroidery |
This is my finished piece - not bad for a first try!
Sadly I missed a few photos due to wetness and water problems, (and possibly too much concentration on tea and cakes), but I hope that I explained all the steps needed to make some very simple felt.
I am not too artistic and find that by copying others work (or using their pieces as a sort of tutorial) I can usually get something that looks passably good. This cuff is really a poor copy of something I saw recently at a craft market although not as professional and embellished in my own particular eccentric way. I intend to try and perfect this particular craft!
Meanwhile this cuff and a few small goodies are off to Kirsty in Australia x
 |
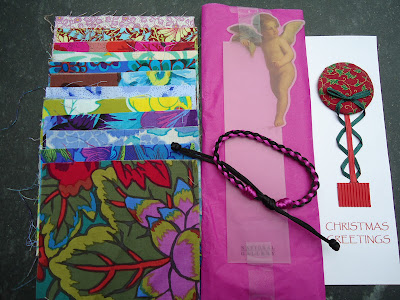
This to be posted tomorrow - as you know I leave everything until the deadline ( must be posted by first of October) - and yes I really am sending a Christmas card!


Looks like loads of fun all round there :o)
ReplyDeleteThis is lovely. It sounds like a fun activity. Looking forward t the swap.
ReplyDeleteThis is great and I love how all the different textiles and colours blend....so pretty!
ReplyDeleteWow - that looks great!
ReplyDelete